

I have an aunt, with a birthday coming up, and I thought what better time to try my hand at a mixed media canvas.
Let me just start by saying that I had no intentions when starting this project of videoing it. That is why there is no process video linked here. But, after beginning, I thought it might make for a good process blog post, so I did snap some pictures.
I started with a 4x4 mini canvas. I will link the supplies I used a the end of this post.

I then gathered up some "found items" that I, well, found around the house. It was then that I put my plan in motion.

I chose to apply a little texture, before adding my found items and forgot to take a picture of this step. I used the Daler-Rowney Medium Texture Paste, and applied it through a chevron arrow stencil with a palette knife. You will be able to see the texture in the next picture.
The next step in this process was the daunting one for me. The placement of the items, on the canvas, played havoc with my OCD. If I were to guess, I rearranged them at least five times. Once I got them situated in a manner in which I was happy with, I started gluing them down.

I, myself, used PVA glue, Aleenes turbo tacky glue be precise. It did require that I place a few of the items down, then give them about 10 minutes to take hold, and then place more down. But, I was okay with this, as I wanted a really firm hold, and I have issues with dealing with the strings that result from hot gluing. Once I had all the pieces on the canvas, I let them set for an hour, just to make sure nothing would wiggle loose or give me problems in the next step.
Next came the applying of the gesso to the canvas and the items on it. I used white Liquidtex gesso, and applied to the entire canvas, and every item glued to the canvas. Just remember, when doing this process, make sure to thoroughly cover every little part of the found items. Also, it is crucial to make sure that you get down into every nook and cranny with the gesso. This will give your project a sound "tooth" and make the entire piece uniform and ready for your next step. I ended up applying three coats of the gesso, drying with a heat gun in between coats.

Next came the laying on of the colors. I knew I wanted this piece to have a spring feel to it. The first color I chose was Apple Barrel Pale Daffodil. I applied this in a dry brush technique, with the least amount of paint in my brush as possible, and just sweeping the bristles across the canvas. I made sure to touch each found item, as well as the textured section of the canvas. Don't forget the sides of your canvas. They will need color as well.

After that, out came the Anitas Hot Pink. I continued to dry brush the new color over the entire canvas, making sure that it was picked up here and there. In some areas, the hot pink interacted with the pale daffodil, giving me the added bonus of a touch of an orange color. Brilliant!!
My next color was Anitas Light Turquoise, again keeping my brush as dry as possible, and sweeping across the canvas. This time, the turquoise interacted with both the pale daffodil and the hot pink, giving me some greens and purples. Splendid!!

Once this step was done, I went over it all, one more time with the Pale Daffodil. I felt it had gotten a little lost with the other two colors, and I just wanted to make sure it had its time in the spotlight.

Next, I decided to give it just a hint of shimmer. For this I used Folkart Metallic in Pearl White. Again, just dry brushing the color in in spots here and there, to add some interest to the canvas.

Keep in mind, that when I would introduce a color to the canvas, I would also dry brush the color on the sides as well. This helped to keep the piece nice and uniform.

Lastly, I knew I wanted the slightest of an aged or vintage appearance, so I pulled out my Apple Barrel Melted Chocolate, and dry brushed just the very edges and sides of the canvas. I then just touched here and there on the overall canvas, just for enough to show here and there achieving the aged appearance I was looking for. I added some splatters using the Apple Barrel Melted Chocolate, along with the Apple Barrel White, with the use of my fan brush.

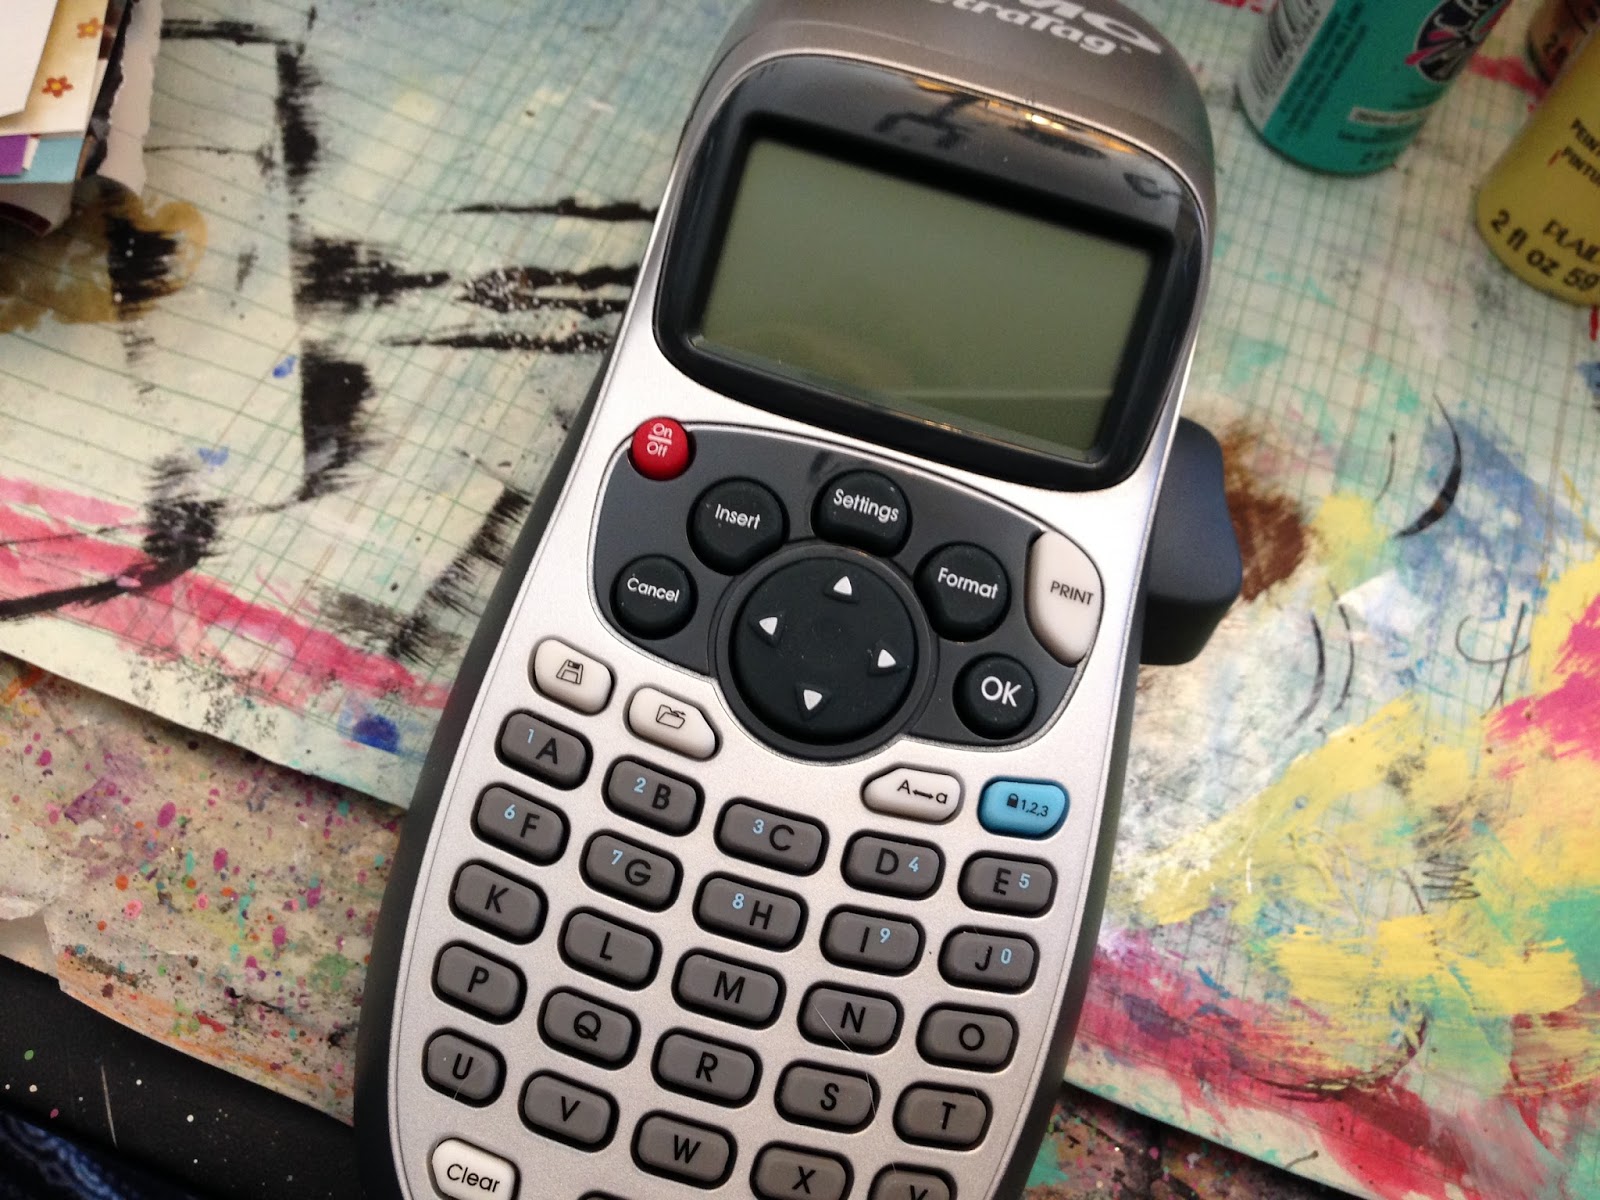
While the canvas was drying, I got out my Dymo Letratag Label Maker, and printed out the quote that inspired the project.
I cut the printed quote into three sections, and set about placing them on the canvas. The tape itself is self-adhering, but with the placement being over the textured section of the canvas, I found I needed to help with a firm hold, so out came the PVA glue and I added just a tiny bit to each before placing them down.
I gave them a few minutes to dry and then went over the entire piece with a good coat of the Daler-Rowney Matt Medium. Once that was dry, I took out my trusty Sharpie Fine Point Permanent Pen, and outlined each line of the quote.

I allowed the canvas to set and thoroughly dry overnight. I then applied a coat of Krylon Colormaster Clear Spray Sealer and called it all done.
I really like how this first time effort turned out, and hope that my aunt likes the canvas.

If you haven't had a chance, jump on over to my Youtube channel and subscribe. Don't forget to click the little bell, so you will be notified of all of my future videos.
Until the next project, stay happy, healthy, and blessed :)
Very cool...yay you!
ReplyDeleteThanks Charlotte. Believe me, I was sweating it the entire time...LOL!!
DeleteWell, my friend why have you been hiding all this wonderful talent? Your work is amazing.
ReplyDeleteHugs
Ah gee!! Now you are making me blush (giggle).
Delete